Daniel Emunot
Over 5 years ago, I had no idea on how to use WordPress. Now I professionally build websites for my clients using WordPress. Over the past years I have gained experience and therefore, I spend my spare time writing articles that help beginners skip the Jibber Jabber and quickly start launching websites in the shortest time possible.


28 thoughts on “How to Install SSL Certificate on EasyWP”
Pingback: EasyWP Review (2019) - Namecheap Managed WordPress Hosting
Thank you so much for this! Namecheap makes this process a real pain and I really appreciate this guide. I followed it and was able to install the Let’s Encrypt certificate and have https load correctly, but after a day or two I was checking out the “Site Health” section of WordPress and noticed I was getting this critical error: “cURL error 60: SSL certificate problem: unable to get local issuer certificate.” The consequences of it weren’t at all apparent to me, because everything seemed to work fine, but it certainly seemed like something that needed fixing.
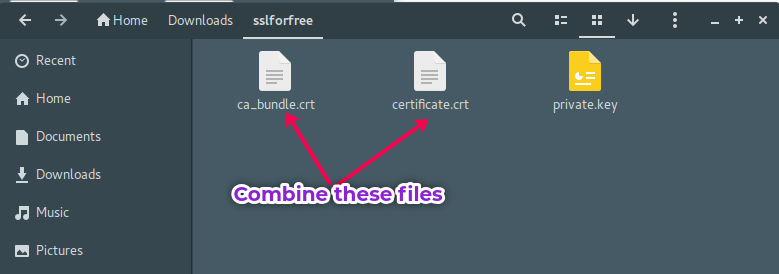
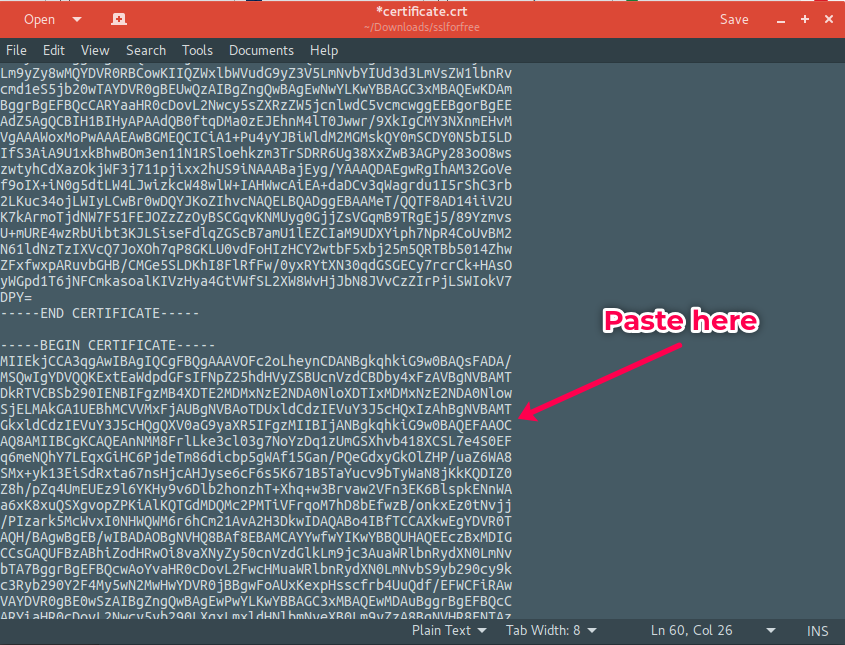
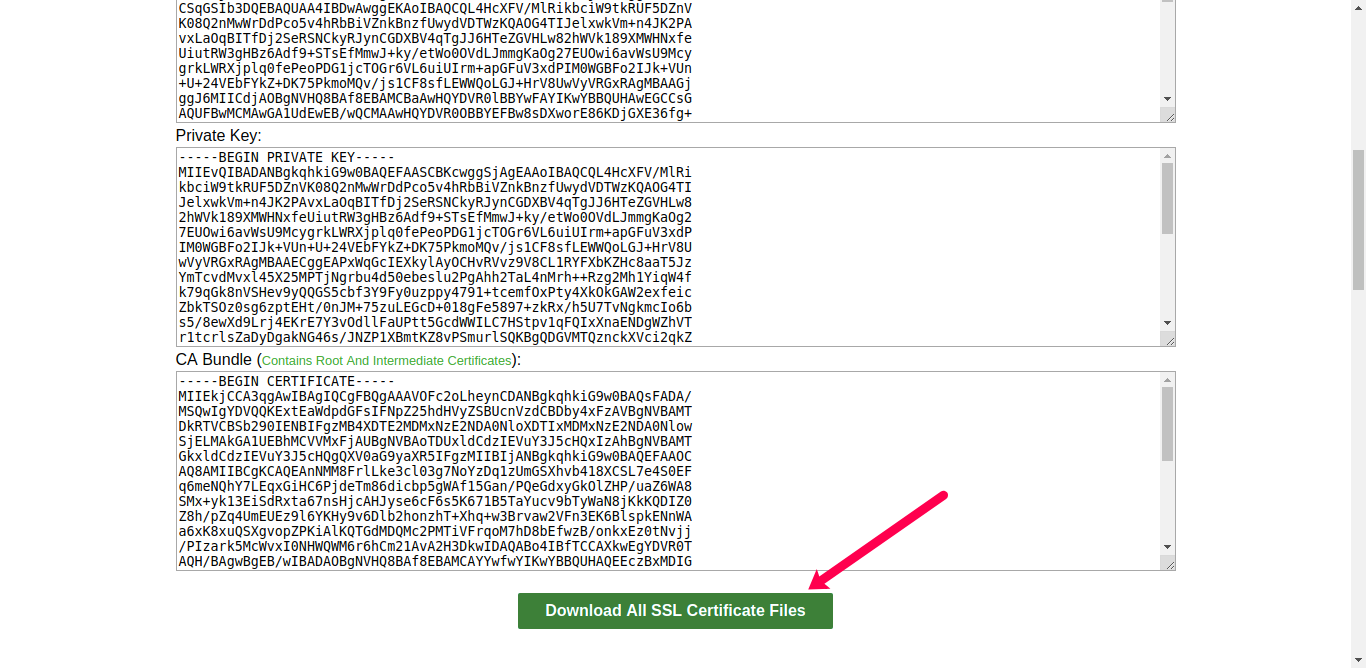
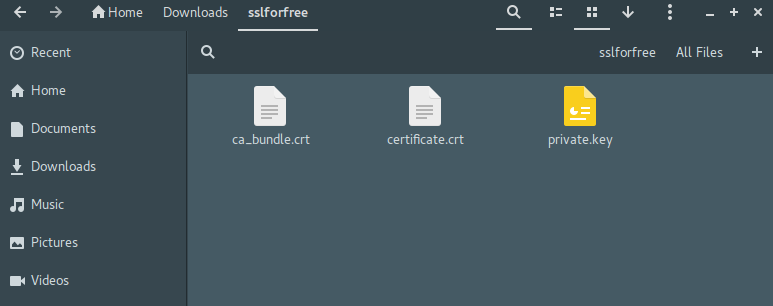
After lots of digging (and checking the ssl cert on ssllabs.com, which told me “this server’s certificate chain is incomplete. Grade capped to B”), I learned that your guide skips a step when it comes to uploading the certificate. On the Namecheap guide for uploading the certificate to the EasyWP panel, it says this: “the files with .crt and .ca-bundle extensions should be combined into a single file with .crt extension. For this, open both files using text editor, copy the chain of codes from the example_com.ca-bundle file and paste it below the code in the example_com.crt file, then save it as a file with .crt extension.”
After combining the ca-bundle and .crt files that Let’s Encrypt provides into one .crt file and re-uploading this new one to the panel, my Site Health errors were solved and I received an A rating from SSLLabs. I hope anyone having the same problem I was is able to find this helpful, because it took like two hours and way too much energy to figure this out myself lol. Daniel, I’d love it if you could update your guide to reflect this step, because otherwise this is absolutely the only coherent information regarding EasyWP and SSL on the internet and an invaluable resource. Thanks a lot, hope this helps 🙂
Hi Jake,
Thanks so much for your contribution on this. Little did I know that not combining ca-bundle and .crt files had such an impact on the site health. I will update this guide to make it more complete and I believe this will help other readers.
Thanks again Jake for all your time and sharing this very useful finding.
Happy to help, thanks again for writing up this guide 🙂
Thanks a lot Jake, I read that on namecheap too. About to start the whole process, might update you how it goes.
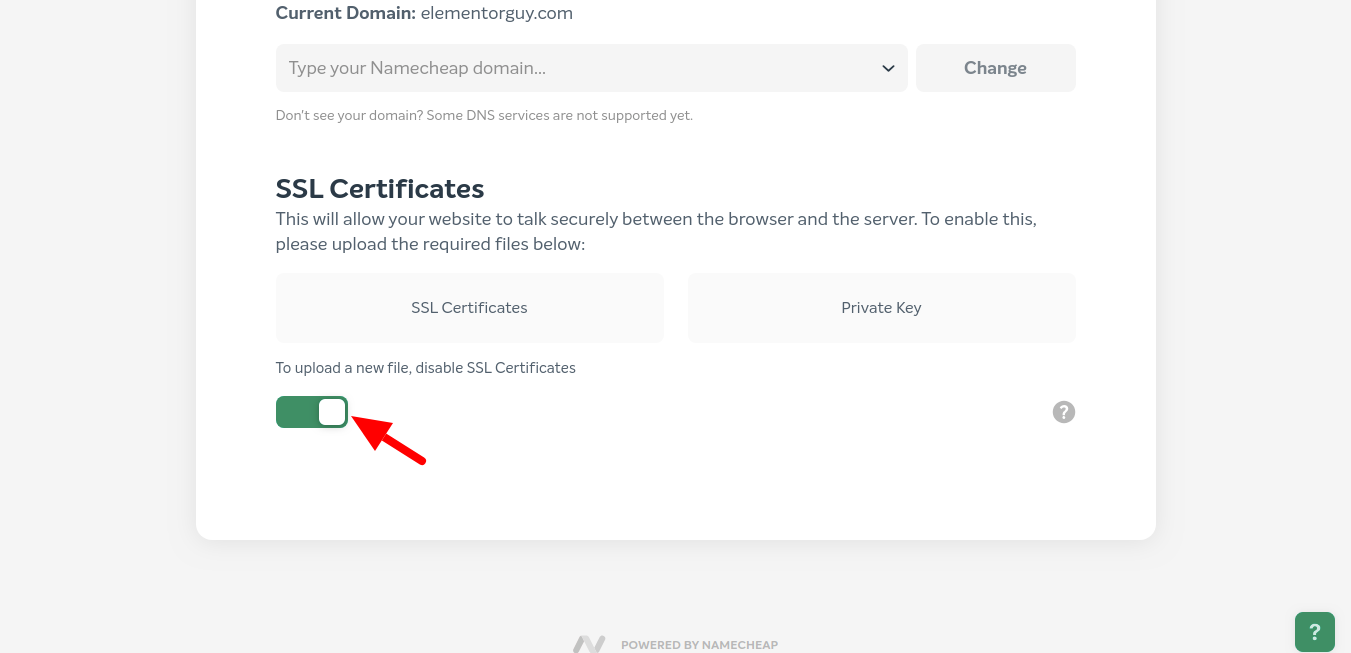
Hey Daniel, thank you very much for the detailed guide. I was wondering if you could help me with the problem I am facing. I followed your guide step by step but for some reason, the SSL encryption does not work for my website. I tried turning it on and off, I tried downloading the certificates and private key a second time, I pasted the ca-bundle strings into the .crt file but nothing seems to help.
I don’t know what to do anymore.
I would really appreciate your help 🙂
Helps a lot, Thank you my friend.
You’re welcome, my friend!
I’ve been banging my head against the wall because the WordPress site health tool was reporting the error “Error: [] cURL error 60: SSL certificate problem: unable to get local issuer certificate” when trying to connect to Jetpack using Namecheap’s purchased SSL and EasyWP from Namecheap.
Turns out just turning the SSL off and back on after combining the certificate wasn’t enough, at least in my case with my host. Running a re-install of WordPress from inside the site fixed the issue. You’re a life saver! Now WordPress.com and Jetpack aren’t throwing a fit about communications. Namecheap didn’t have this documented and really should given they sell SSL certificates for “managed” WordPress. You rock!
I’m glad you found a workaround for your case. Thanks for your kind words 🙂
Daniel – This is an awesome guide for EasyWP and LetsEncrypt. Thank you!
Question – Do you have a way to auto-renew the SSL every 60 days?
I really dont know why namecheap makes this so difficult.
You are welcome 😊
Unfortunately, with EasyWP I don’t have away to auto-renew SSL given that we don’t have access to things like cron jobs.
Thank you very much for this.
You made it so easy to understand.
You’re welcome! I am glad you found it easier 🙂
Thank you very much. The steps where very clear and straight to the point. Thamks once more.
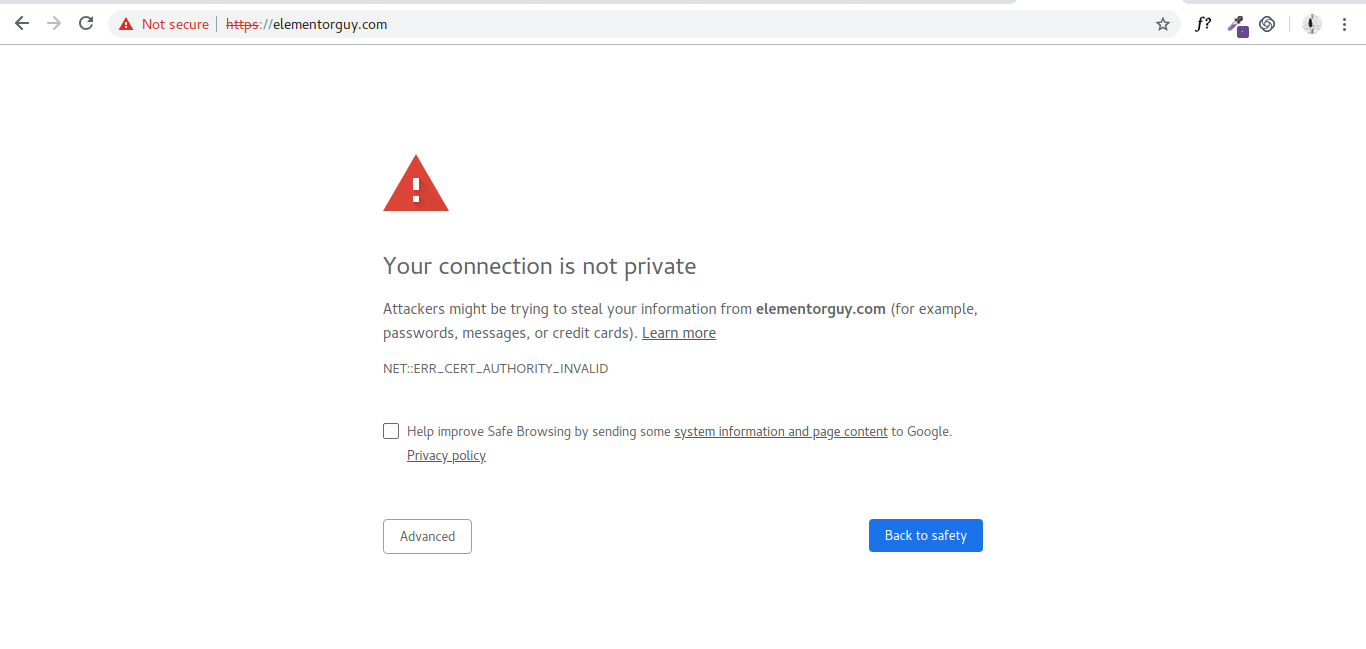
hello im wondering if the free ssl didnt break your site in the future? i was checking the site from your video but it’s not longer working? https://http://elementorguy.com ?
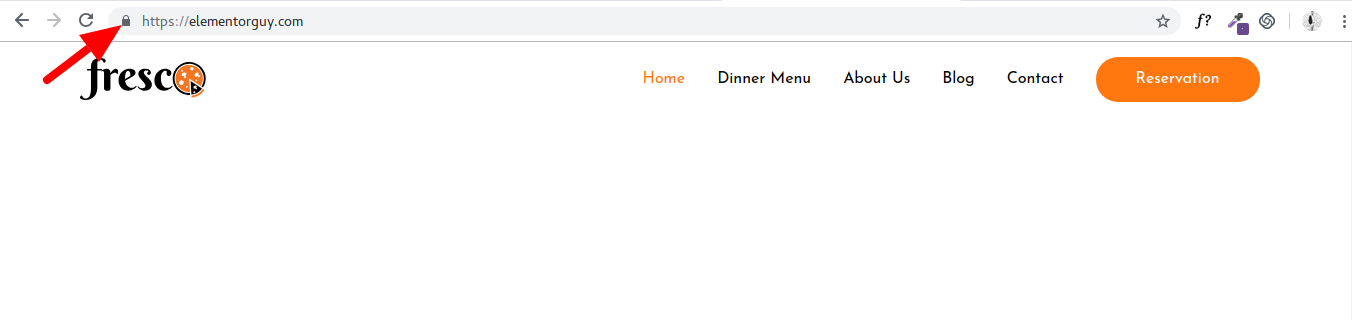
https://elementorguy.com/ rather, this is your demo site, it’s not accessible, did the free ssl break the site?
No, it didn’t. The domain just expired.
Wonderful. Thank you for sharing this. Works great
Thank you for your comment. I am glad you found it helpful 🙂
Thanks you very much
Hey Daniel…i followed all the steps you mentioned here…still getting issue from browser.
Would you send me the link to your website so I can take a look?
Hi mate,
This worked a charm – thanks so much for the guide.
Thank you Daniel,Iam sure you will agree with me that the quality of work level of service will be great.
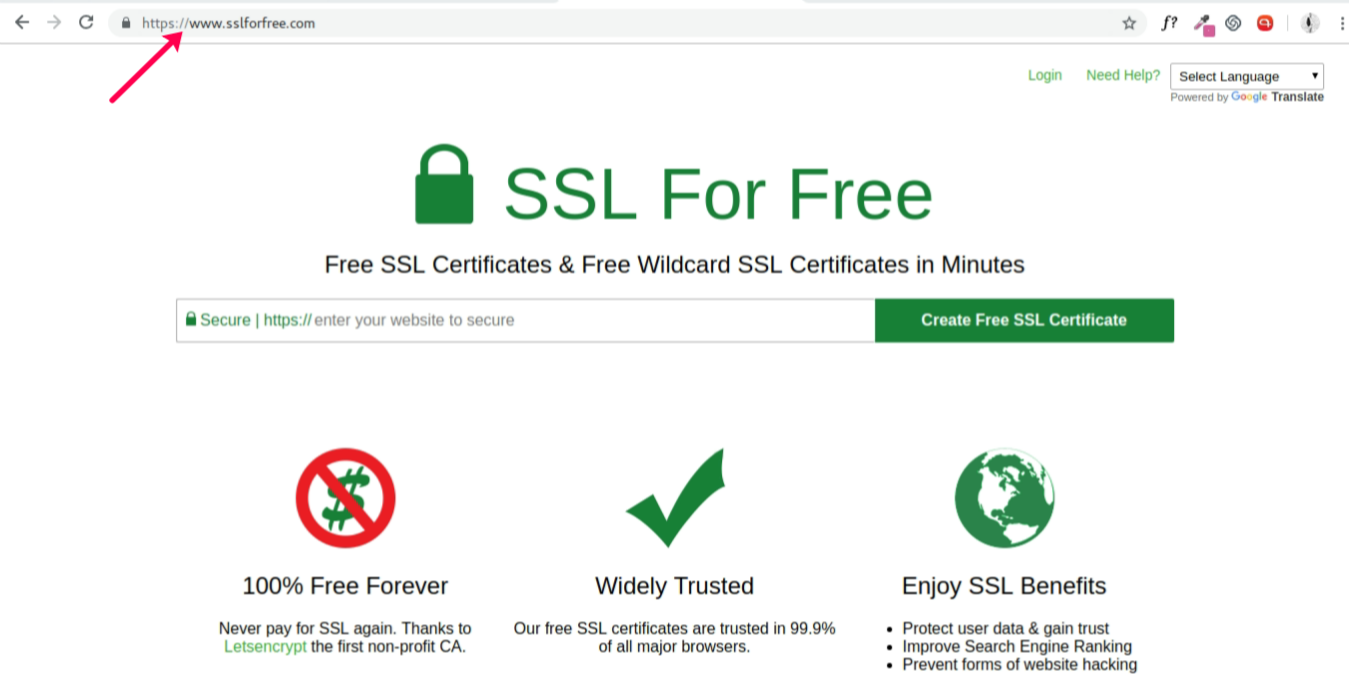
Thank you for this easy-to-follow guide! I was able to install my Let’s Encrypt SSL certificate on EasyWP without any issues. The step-by-step instructions were clear and made the process smooth. I appreciate the helpful tips throughout the post!
Thank you for the detailed guide! I always struggled with SSL installation, but your step-by-step instructions made it super easy to set up Let’s Encrypt on EasyWP. I appreciate the screenshots too—they really helped clarify the process. I’m now more confident in securing my site!
Thank you for this clear and concise guide! I found the step-by-step instructions easy to follow, and I successfully installed the Let’s Encrypt SSL certificate on my EasyWP site. This really helps in securing my website without any cost. Keep up the great work!